


 Spanish
 Russian
 Arabic


Products Description
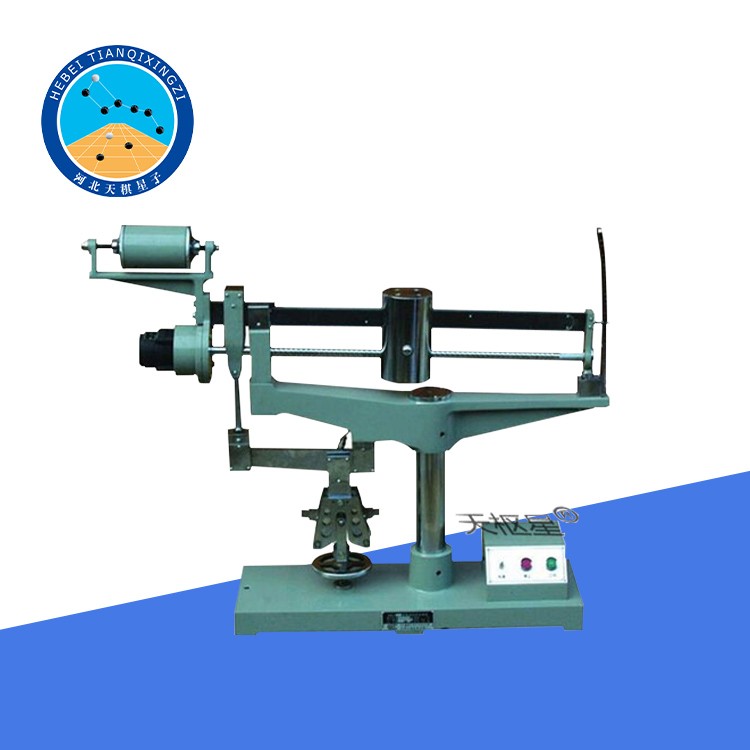
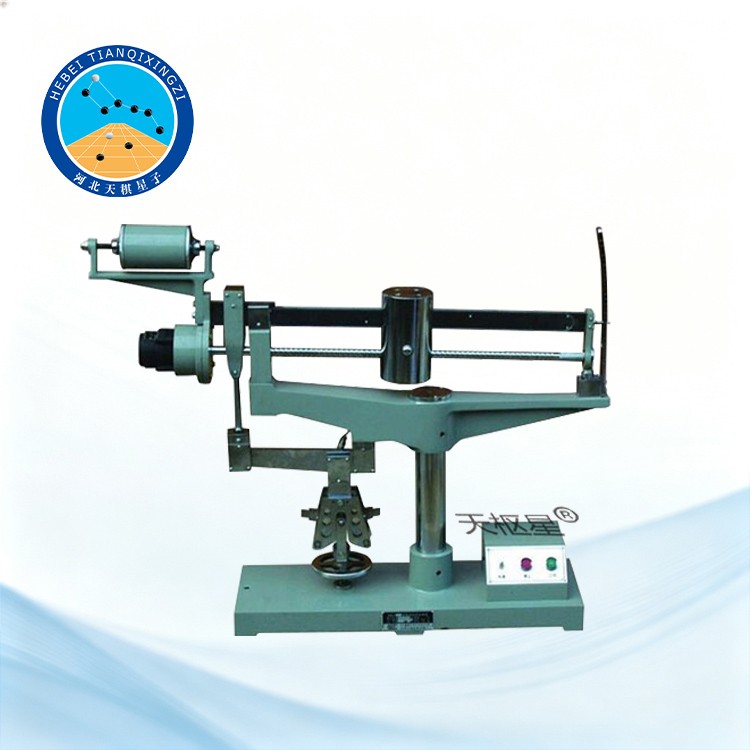
The Electric Cement Flexural Testing Machine is primarily designed for determining the flexural strength of cement mortar specimens. It is widely used in cement plants, construction companies, professional colleges and universities, research institutions, and construction material testing laboratories. The machine can also be used to determine the flexural strength of other brittle non-metallic materials.
Electric Cement Flexural Testing Machine
Model: TDKX-500/600
I. Product Application
The testing machine provides two loading configurations. With the single-lever system, the maximum testing force is 1000 N; with the double-lever system, the maximum testing force is 5000 N. The machine is equipped with a dedicated scale for directly correlating the applied flexural force with the flexural strength of cement mortar.
For the 1000 N maximum testing force, the reading resolution is 0.4 N and 0.001 MPa. For the 5000 N maximum testing force, the reading resolution is 1 N and 0.005 MPa, providing convenient and reliable measurements for cement mortar flexural strength testing.
Reference Standards: ISO 679:2009, EN 196-1:2016, ASTM C348-21
II. Main Technical Specifications
1. Single-Lever Force Ratio (Upper Beam Arm Ratio), Max.: 10:1
2. Double-Lever Force Ratio (Lower Beam Arm Ratio), Max.: 50:1
3. Maximum Testing Force:
Single-Lever System: 1000 N
Double-Lever System: 5000 N
4. Loading Rate:
Single-Lever System: (10 ± 1) N/s
Double-Lever System: (50 ± 5) N/s
5. Flexural Testing Fixture:
Loading Roller and Support Roller Diameter: Φ10 mm
Distance Between Support Rollers: 100 mm
Distance Between Loading Plates: 46 mm
6. Relative Error of Indicated Value: < ±1%
7. Sensitivity:
For the double-lever system, after balancing the lever, a 1 g load is applied at a point 500 mm from the fulcrum with the lever in the horizontal position.
Lever Inclination: > 1/50
8. Overall Dimensions (L × W × H): 1075 mm × 250 mm × 760 mm
9. Net Weight: Approx. 85 kg
III. Machine Structure
The Electric Cement Flexural Testing Machine consists of a base, columns, upper beam, long and short tie rods, large and small levers, angle indicator plate, flexural testing fixture, movable weight, large and small balance weights, drive motor, drive lead screw, and electrical control box, along with other mechanical and electrical components.
IV. Common Faults and Troubleshooting
Fault | Possible Cause | Corrective Action |
The loading does not stop automatically after the test specimen breaks. | 1. The limit switch at the right end is damaged.2. The actuator block at the left end does not press the limit switch. | 1. Replace the limit switch.2. Adjust the position of the actuator block. |
The movable weight moves forward for a certain distance after the test specimen breaks. | The half nut inside the movable weight is worn. | Replace the half nut (Part No. 500-01-03). |
The main lever becomes unbalanced. | 1. The position of the balancing weight has shifted.2. The movable weight has not returned to its original zero position. | 1. Re-adjust the balancing weight and tighten it securely.2. Turn the lead screw to adjust the movable weight to the zero position. |
The button on the movable weight does not return to its original position. | 1. Dirt or burrs are present inside the button hole.2. The return spring has failed. | 1. Clean the button hole and remove any burrs.2. Replace the return spring. |
The movable weight moves intermittently or becomes stuck. | Dirt is present on the lead screw, the surface of the main lever, or the rolling bearing inside the movable weight. | Clean the lead screw, main lever, and bearing inside the movable weight. |
The motor cannot start. | 1. The rotating part of the lead screw is jammed.2. The motor or electrical components are damaged. | 1. Clean the components and remove any burrs.2. Replace the damaged components. |
The main lever swings briefly and then stops. | 1. The supporting knife edge of the main lever is damaged.2. Dirt or foreign matter is lodged between the knife edge and its bearing. | 1. Repair or replace the knife edge.2. Clean the knife-edge bearing. |
