


 Spanish
 Russian
 Arabic

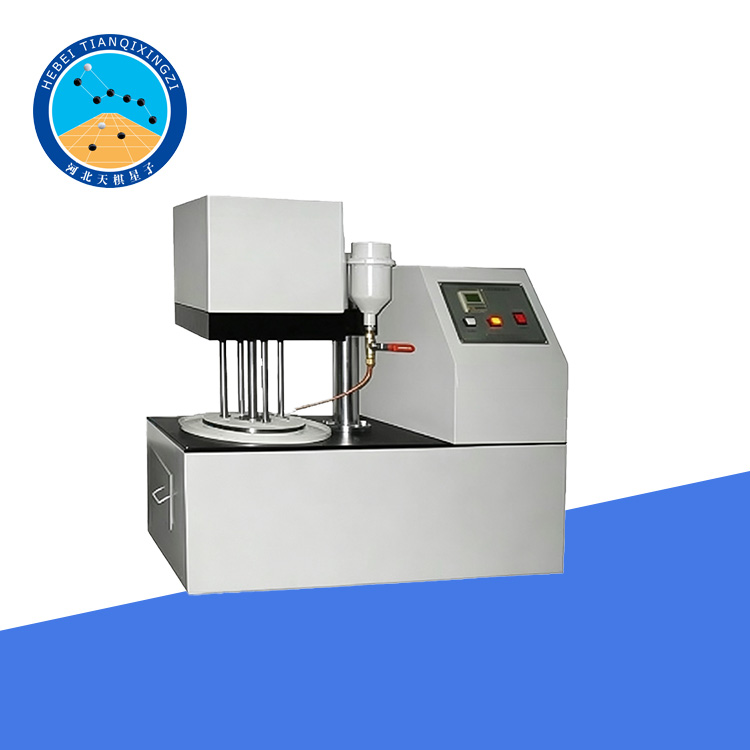

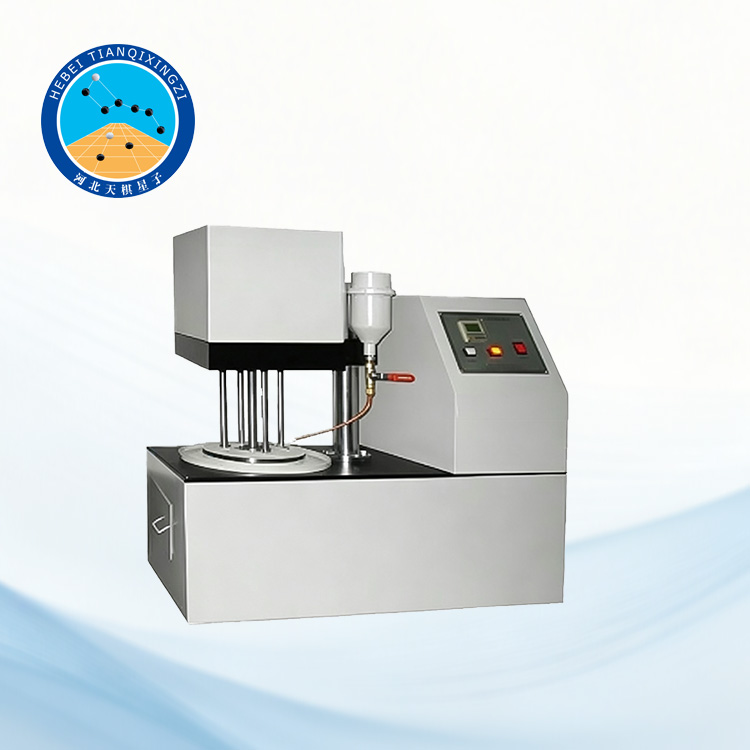
Products Description
Dorry Abrasion Testing Machine is designed to evaluate the abrasion resistance and wear performance of natural stone, marble, granite, artificial stone, and coarse aggregates. Featuring precise speed control, stable operation, and multiple specimen fixtures, this laboratory abrasion tester provides reliable results for assessing material resistance to wear caused by friction and impact.
Dorry Abrasion Testing Machine for Stone & Aggregate
Model:TD323-2
I. Product Introduction
The Coarse Aggregate Dorry Abrasion Testing Machine is developed and manufactured by the company in accordance with the industry standard JTG E42-2005 “Test Methods of Aggregate for Highway Engineering” and T 0323-2000 “Abrasion Test of Coarse Aggregate (Dorry Test)”.
The Dorry Abrasion Testing Machine is mainly used to determine the abrasion resistance and wear performance of natural granite, marble, and other architectural decorative materials, such as artificial stone and glass-ceramic materials. The machine is designed and manufactured according to the test performance requirements specified in Appendix A of GB/T 19766-2005 “Marble Building Slabs”. The testing machine features an attractive design, low operating noise, and multiple working heads (specimen fixtures), allowing simultaneous testing of multiple samples. It can also be used to evaluate the ability of coarse aggregates used in highway pavement surfaces to resist wheel impact and abrasion.
II. Applicable Standards
GB/T 9966.4-2001 Test Methods for Natural Facing Stones — Part 4: Test Method for Abrasion Resistance
GB/T 9966.8-2008 Test Methods for Natural Facing Stones — Part 8: Test Method for Abrasion Resistance
GB/T 19766-2005 Natural Marble Building Slabs — Appendix: Test Method for Abrasion Resistance
ASTM C503-1997 Standard Specification for Marble Dimension Stone — Abrasion Resistance Test Method
III. Features
1. The machine adopts an independently developed control system combined with a high-quality domestic three-phase AC asynchronous motor, ensuring precise speed control and stable operation.
2. The transmission gears are made of high-quality die steel, processed by advanced wire-cut EDM technology, and treated with high-temperature quenching for enhanced precision, durability, and long service life.
3. The electrical control system is equipped with a leakage protection switch and a counting memory system. It uses national-standard tinned copper wiring, ensuring safe and reliable operation.
4. The electrical control box is independently installed on the right side of the machine, effectively preventing abrasion caused by abrasive materials while greatly improving operational convenience.
IV. Technical Parameters
Abrasion steel wheel diameter: Φ254 × 15 mm
Abrasion steel wheel speed: (45 ± 1) rpm
Working hardness of abrasion disc: > HB500
Number of specimen fixtures: 4
Specimen rotation speed: (45 ± 1) rpm (for all four specimens)
Applied load on specimen: 1250 g ± 50 g and 2000 g ± 50 g
Abrasive: #60 White Corundum
Preset speed counter counting range: 0–999999
Specimen size: 50 × 50 mm
Counter: 6-digit LCD intelligent counter
Rated voltage: AC 220 V
Rated power: 0.37 kW
V. Test Methods
1. Sample Preparation
1.1 Sampling shall be carried out according to the test requirements.
1.2 The sample shall be sieved, and the portion from 9.5 mm to 13.2 mm shall be used to prepare the specimen.
1.3 The sample shall be cleaned and dust-free before use, and its surface shall be kept dry. When heating and drying, the heating time shall not exceed 4 hours, the heating temperature shall not exceed 110℃, and the sample must be cooled to room temperature before preparing the specimen.
2. Specimen Fabrication
2.1 Mold Preparation. Clean the mold and tighten the end plate screws; apply a small amount of soapy water to the inner surface of the mold with a fine brush, and dry the mold in an oven.
2.2 Material Discharge. Use tweezers to pick up the aggregate and arrange it in a single layer in the mold, with the flatter side facing down; the mold should contain as many aggregate particles as possible, and under no circumstances should there be fewer than 24 aggregate particles; the aggregate particles must be representative.
2.3 Sand Blowing
The voids between aggregate particles shall be filled with fine sand (0.1 mm–0.3 mm). The filling height should be approximately 3/4 of the height of the aggregate particles. During filling, the fine sand shall first be evenly spread using a dispensing spoon, then compacted and leveled with a rubber air blower. Any excess sand shall be blown away.
2.4 Preparation of Epoxy Resin Mortar
First, thoroughly mix the epoxy resin and curing agent, then add dry sand (0.1 mm–0.45 mm) and mix evenly. The mortar shall be prepared according to the ratio:
Epoxy resin : curing agent : fine sand = 1 g : 0.25 mL : 3.8 g
Approximately 30 g of epoxy resin, 7.5 mL of curing agent, and 114 g of dry fine sand are required for two specimens.
2.5 Mold Filling and Specimen Forming
Fill the prepared epoxy resin mortar into the test mold and compact it as densely as possible. Care shall be taken not to disturb the arranged aggregate particles. Then, use a heated putty knife to repeatedly scrape and smooth the surface of the mold until the mortar surface is flat and even.
2.6 Curing
Apply soapy water to one side of the backing plate, then place the mortar-filled mold upside down on the backing plate (to prevent the mortar from penetrating onto the surface of the aggregate). The curing time at room temperature is generally 24 hours.
2.7 Demolding
Loosen the screws on the end plates and remove the two end plates. Carefully take out the specimen by gently tapping the mold with a rubber hammer. Remove excess mortar using a scraper or sandpaper, and clean away loose sand with a soft brush.
3. Test Procedure
3.1 Weigh the two specimens separately and record their masses (m₁) with an accuracy of 0.1 g. Before testing, run the machine idle for one rotation under sand-feeding conditions to ensure that a layer of abrasive sand is evenly distributed on the rotating disc.
3.2 Place the two specimens into the two specimen trays respectively, ensuring that the specimens are tightly fitted with the trays. Weigh the combined mass of the specimen, tray, and counterweight, and adjust the total mass to 2 kg ± 10 g.
3.3 Place the specimens together with the trays into the abrasion testing machine, positioned radially opposite to each other. The distance between the center of the specimen and the center of the grinding disc shall be 260 mm, with the exposed aggregate surface facing the rotating disc. Then place the corresponding counterweights on the specimens.
3.4 Rotate the grinding disc for 100 revolutions at a speed of 28–30 rpm. At the same time, feed the qualified grinding quartz sand into the hopper so that it continuously flows onto the rotating disc in front of the specimen. The width of the flowing sand shall be sufficient to cover the entire width of the specimen. The sand flow rate shall be 700–900 g/min (the gap width of the hopper outlet is approximately 1.3 mm).
Use a rubber scraper to remove the sand from the rotating disc. The scraper shall be installed so that the rubber edge gently contacts the disc surface. The width of the scraper shall be equal to the width of the outer ring area of the grinding disc.
3.5 Pass the recovered sand collected in the aggregate hopper through a 1.18 mm sieve and reuse it several times until the completion of the entire test, after which it shall be discarded.
3.6 Remove the specimens and inspect them for any abnormal conditions.
3.7 Repeat the above procedures and continue the abrasion test for an additional 400 revolutions. The remaining 400 revolutions may be completed in four cycles of 100 revolutions each, or performed continuously in a single operation. During continuous operation, the cover of the abrasion testing machine shall be lifted periodically to check whether the sand flow condition remains normal.
3.8 After completing 500 revolutions, remove the specimens from the abrasion testing machine. Separate the specimens from the trays, remove any remaining sand with a brush, and weigh the specimens to obtain the final mass (m₂) with an accuracy of 0.1 g.
If the aggregate is excessively susceptible to abrasion and the abrasion process reaches the mortar backing layer, the test shall be stopped and the number of completed revolutions shall be recorded. Conversely, some extremely hard aggregates may scratch the grinding disc; in such cases, the grinding disc shall be reconditioned by machining.
